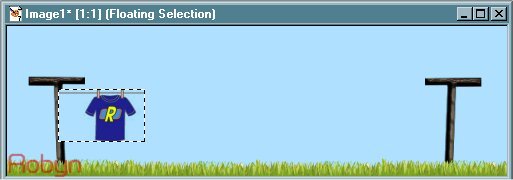
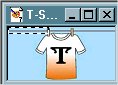
14- Add a new layer, name it 'shirt1'. Click on your shirt image, go to Edit/Copy. Click
on your main image and Edit/Paste as New Selection. Hang your shirt as shown below.
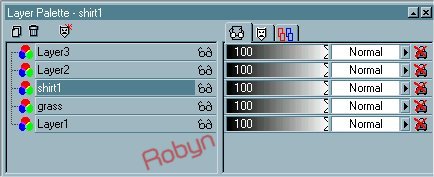
Selections/Select None.Part of the sky will be covering the pole, open your layer palette and move the shirt1 layer below layer 2, which should be the left pole. See the example below.
15- For each of your *middle shirts*:
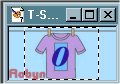
Open the next letter (shirt) of your name, and resize to 40% the same as you did on the first shirt.
*!..Remember to go to Effects/Sharpen/Sharpen after each Resize..!*
This time when using the Selection Tool, being very careful to start at the very top, cut some of the clothesline off of 'both' sides of your shirt so your shirts won't be so far apart. Example below.
Edit/Copy, Edit/Paste as New Image.
16- Click on your 'second shirt', Edit/Copy. Click on main image and Edit/Paste as New Selection. Attach this shirt to the previous one, making sure the clothesline is even. Selections/Select None.
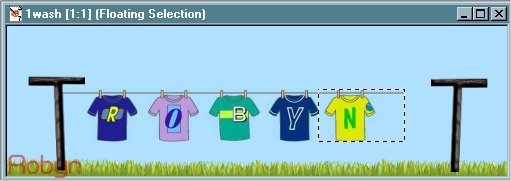
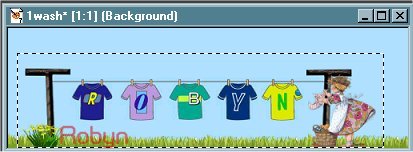
17- Continue adding your middle shirts as you did above until you get to the last letter of your name. With your last shirt you want to leave the clothesline longer on the 'right' side so that it can attach to the right-side pole.
18- Resize your last shirt, sharpen, and use the Selection Tool to cut off part of the clothesline on the left side. Edit/Copy, Edit/Paste as New Image. Edit/Copy, click on main image, Edit/Paste as New Selection following the example below. Selections/Select None.
19- If you want the washlady in there, you'll need to make an extra length of clothesline. Open one of the shirts, resize, sharpen, and use the Selection Tool to select the clothesline on one side of the shirt as shown below.
Edit/Copy, click on main image and Edit/Paste as New Selection. Connect it to the end of your clothesline the same way you did the shirts.
20- Now you need to position your right pole to connect to the end of the clothesline. Open your layer palette and click on the layer for the right pole, it should be layer 3. With your Mover Tool, bring the pole over so that the clothesline is touching it the same way the left pole is on the other side.
21- Make sure your grass is in front of the poles and go to Merge/Merge Visible.
22- For the washlady, add a new layer. Set the tube size at 70% and add. Go to Image/Mirror so that she can be at the end of the clothes already hanging.
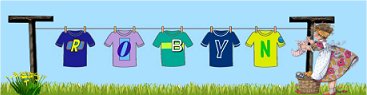
23- Decorate with flowers or whatever you'd like, then go to Layers/Merge/Merge All. We need to resize and remove any extra space. Resize to 80%. Go to Effects/Sharpen/Sharpen. Below is what I removed with the Selection Tool.
Go to Edit/Copy, Edit/Paste as New Image. Make sure that all layers are merged and if you need to sharpen, do that now.
You're all done! Add a border if you'd like :o)