We need to take just a few minutes to gather the Tubes and the Alphabet we'll be using.
(Here's a free Zip Program if you need one. I've used it for years and it's great..very easy to use.
'Free' Download. 
The tubes you'll need, Poles, Washlady, and Grass, are in a zip file.
Tubes
Extract them to C:\Program Files\Jasc Software Inc\Paint Shop Pro 7\Tubes
(Or whichever version you're using.)
They'll be in your PSP tube file and ready to use.
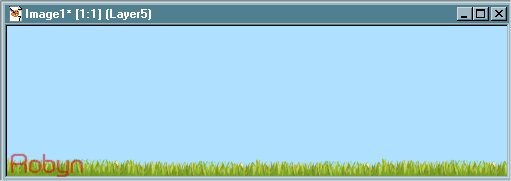
1- Open a New Image.
My name has 5 letters, for that I used an image 550x150, transparent. You can adjust the width according to how many letters there are in your name..remember that we'll cut off the excess when we're finished, so don't worry about it being too wide. Wider is better than not wide enough! :o)
2-Fill the background with color #A9E0FE.
3-Add new layer. With your grass tube set at 25%, place the grass all along the bottom, adding a new layer for each grass tube you use so you can adjust the placement easily.
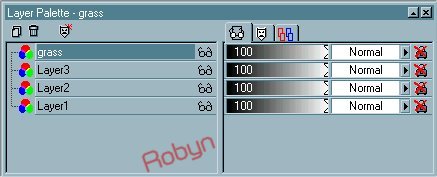
4- Open your layer palette and turn off the background layer. (click on the glasses on that layer), and Merge/Visible the grass layers.
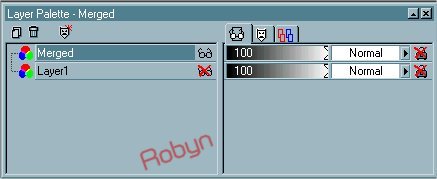
5- Right click on, and rename the merged layer 'Grass'.
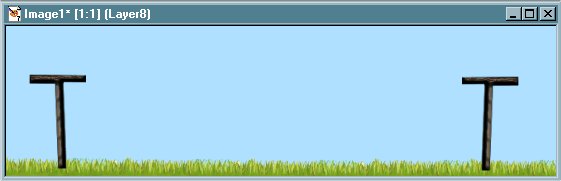
6- Turn your background layer back on. Add a new layer. With your clothesline pole set at 75%, add it and place it to the far left side, and about halfway down into the grass.
7- Add a new layer and the pole tube again. Go to Image/Mirror and place the pole on the right side, the same way you did the first pole.
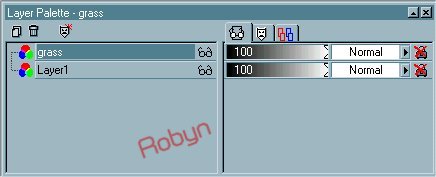
8- Open your layer palette and move the grass layer to the top. Now your grass is in 'front' of your clothesline poles.
9- Go to File/Browse, and find the folder that has your t-shirt alphabet in it. Double click to open each letter you'll be using for your name, and minimize them.
You'll have to resize each letter. On your first letter you need to leave the clothesline longer on the left side since it attaches to the clothesline pole.
10- Bring up the first letter of your name. Go to Image/Resize, and use the settings below.
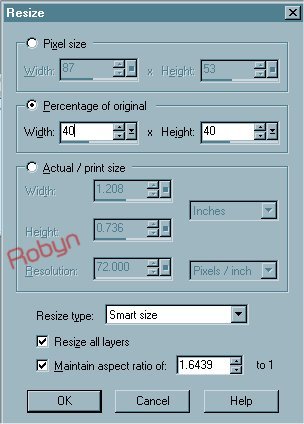
After Resizing, always go to Effects/Sharpen/Sharpen.
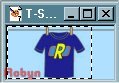
11- Use the Selection Tool set at 'Rectangle', Feather '0', Antialias checked. Start at the "
very top left corner"..this is important so that the clothesline will line up with the next shirts' clothesline.
12- Your first shirt will attach to the pole so you want the line longer on the left side. Make your selection as shown in the example below. The image will be small so you might want to magnify it.
13- With the shirt image active, go to Edit/Copy, and Edit/Paste as New Image.
Close the original shirt and do not save. Now you're ready to hang your shirt on the line!
