4-4-03
**..Topper Siggy Tut..**
by Robyn :o)
Paint Shop Pro 7
Beginner (?)


I'm writing this from memory. I learned to do it in an MSN Group that's no longer there and I haven't been able to find the tutorial anywhere...so the credit for this goes to "Katty", where ever you are!  .
.
This looks long and complicated....it isn't...I just talk a lot! LOL..
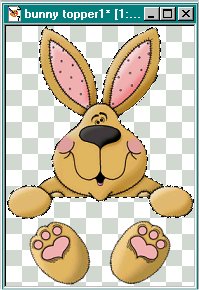
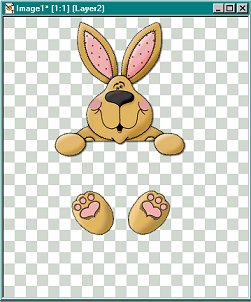
I have several Topper tubes...you can pick which ever one you'd like to use, or if you have one of your own that's fine too! Some are just tops, and some are the full top and bottom...here they are:
**..Toppers..**


 Some of the tubes are larger than these examples!
Extract to: C:\Program Files\Jasc Software Inc.\Paintshop Pro 7\Tubes
Or...Just double click on the file after it unzips and it'll open in your PSP :o)
Ok here we go!
1- Open your topper tube in PSP. Also open a 'New Image' 350x400, Transparent Background. This will give you plenty of work space.
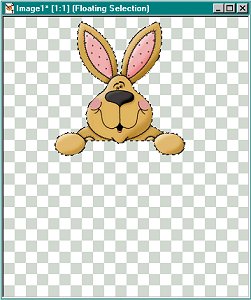
2- With the Freehand "Lasso" Tool surround the top part of your tube.
*Freehand Tool*

 3- Click anywhere inside that area and the marching ants will surround the selected area of your tube.
 4- Go to 'Edit/Copy', then click on your New Image and click on 'Edit/Paste as New Selection'. Place your tube piece near the top so you'll have room for your name and your bottom piece.
5- Go to 'Effects/3D Effects/Drop Shadow' and add a drop shadow as shown:
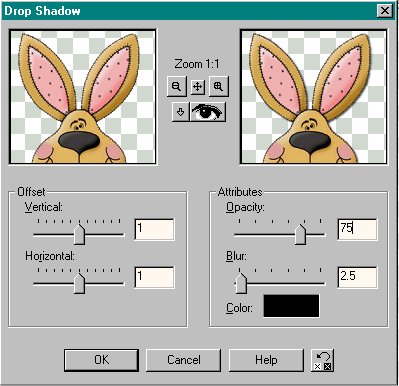
6- Selections/Select None.
7- 'Lasso' your bottom piece if you're using one, the same way you did the top. Click inside to have the marching ants around the part you want.
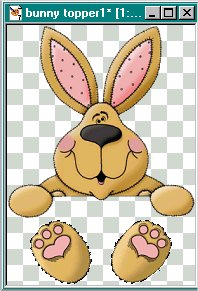 8- Go to 'Edit/Copy', click on your New Image and go to 'Edit/Paste as New Layer'. With the mover tool, place the bottom piece a little under the top piece, leaving room for your name in the middle. You can move the top and bottom later so don't worry about the placement too much now. Close your topper tube, you won't need it any more.
*Mover Tool*

 9- Add a drop shadow as shown in #5.
10- Selections/Select None.
**..Part 2..Your Name..**
11- You need to decide which color, gradient, or pattern to use in your name. Also which font you want to use.
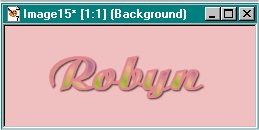
12- Open a New Image..300x100. You might need to work with that, depending on how long or short your name is.
13- With the text tool add your name using the font and size you like...experiment until you're happy .
*Text Tool*
 14- Add a 'Drop Shadow' as in #5, then 'Selections/Select None'.
15- Add a new Raster Layer by going to 'Layers/New Raster Layer'.
16- Floodfill with your Background Color.
17- Go to 'Layers/Arrange/Send to Bottom'.
*Flood Fill Tool*

 18- Go to 'Layers/Merge/Merge All.
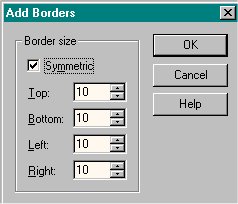
19- On your Color Palette, change the color to something different than you already have so that you can tell where your border is going to be. Go to 'Image/Add Borders' and add a Symmetric border of '10' as shown. Make sure the box next to 'Symmetric' is checked, and you only need to put the number 10 in the top box.
 20- With the 'Magic Wand Tool' click inside the border so that you have the marching ants around it. 'Floodfill' with your border color.
*Magic Wand Tool*


Page 2