by...Robyn :o)

15-With Image3 Merge/visible and save in your folder.
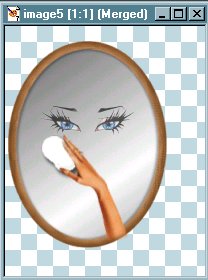
16-Bring up Image5 and place to the left of Image4.
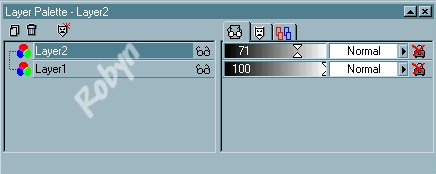
With Image5 active open the layer palette and move the slider to between 65-75. Merge/visible and add a new layer.
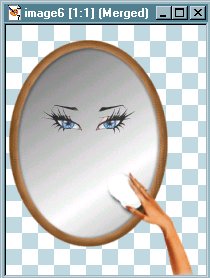
19-Bring up Image6 and place to the left of Image5.
With Image6 active add a new layer and place your hand tube in the final position.
You won't need to use the layer palette slider on this view.
21-Image7 is the one you'll put your name on.
Add a new layer. Using the Text tool, pick your text color and font. The size of the font will depend on how many letters you have in your name, so you might have to experiment. Place your text where ever it looks best to you. A nice touch to add when you put your name in the mirror is to 'rotate' it 10-15 degrees to the left. Sharpen/sharpen, Merge/visible and add to your folder.
You now have 7 mirror images.
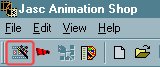
Open Animation Shop and click on the Animation Wizard.
***Use the following settings***
First..Same size as the first image frame.
Transparent.
Centered in the frame.
With the canvas color.
Scale frames to fit-Checked.
Yes, repeat the animation.
How long displayed..'18-20'.
Add your images from 1 to 7.
Next, and Finish.
Click your last frame..#7, go to Animation/Frame Properties, and change the Display time to 90, or however long you'd like to have your name displayed.
Click "View Animation".

If you need to email me please use the form on the Home Page.

I really hope you enjoyed my very first Tutorial! If you've noticed a mistake or have any suggestions, please let me know!
Hugs, Robyn :o)
Page 2